See how to build a floater with a single sensor or two sensors
How to build a single floater
To build a single floater, you will need the following list of materials:
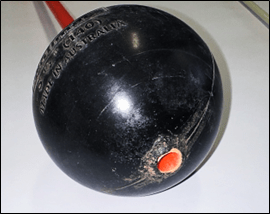
- (1x) Plastic Floater 5 ½” (140)
- (1x) Rigid Conduit 20mm (1000mm length)
- (1x) PVC rod (2000mm length / diameter ½”)
- (1x) Magnetic Rim (inner diameter 20mm / external diameter 30mm)
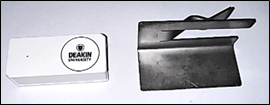
- (1x) Contact Sensor
- (1x) Clamp
- Coloured tape
- Cable ties
- Epoxi glue

Step by step single floater
Step 1: Fix magnetic rim at the top of the conduit using Epoxy glue
Step 2: Make a hole in the bottom of the floater. Note that the conduit should reach the bottom of the floater and then be sealed applying Epoxy glue.
Step 3: Fix contact sensor in the clamp using double sided tape and cable ties.
Step 4: Make sure the arrow mark in the contact sensor will be touched by the magnetic rim.
Step 5: Insert PVC rod inside the conduit and attach the contact sensor module in the desired height. Optional – Use coloured tape for visual inspection.
How to build a Dual Floater
That floater is useful for marking a specific upper and lower water height limit.
To build a dual floater, you will need the following list of materials:
- (1x) Plastic Floater 5 ½” (140)
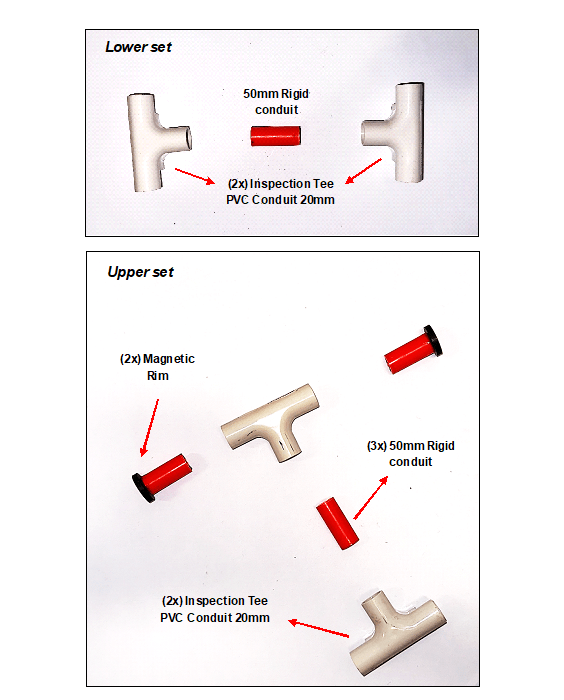
- Rigid Conduit 20mm
- (4x) 50mm length
- (1x) 320mm length
- (1x) 1000mm length
- (1x) Metallic rod (2700mm length / diameter ½”)
- (2x) Magnetic Rim (inner diameter 20mm / external diameter 30mm)
- (2x) Contact sensor
- (2x) Clamp
- (4x) Inspection Tee PVC Conduit 20mm
- Coloured tape
- Cable ties
- Epoxy glue

Step by Step dual floater
Step 1: Assemble Lower and Upper set applying Epoxy glue in each connection.
Step 2: Attach floater to 320mm length conduit and then to the lower set applying Epoxy glue in each connection.
Step 3: Fix magnetic rim to the 1000mm length conduit.
Step 4: Fix the 1000mm length conduit to the lower set and then to the upper set applying Epoxy glue in each connection.
Step 5: Fix contact sensor in the clamp using double sided tape and cable ties.

Step 6: Make sure the arrow mark in the contact sensor will be touched by the magnetic rims.
Step 7: Insert metallic rod inside the conduit and then attach the contact sensors modules in the desired heights.

Leave a comment