How to add the floater’s contact sensor into the app.
For this tutorial you will need:
| Material | Single Floater | Dual Floater |
| Contact Sensor | 1x | 2x |
| AAA Battery | 2x | 4x |
| Clip | 1x | 1x |
Step by Step
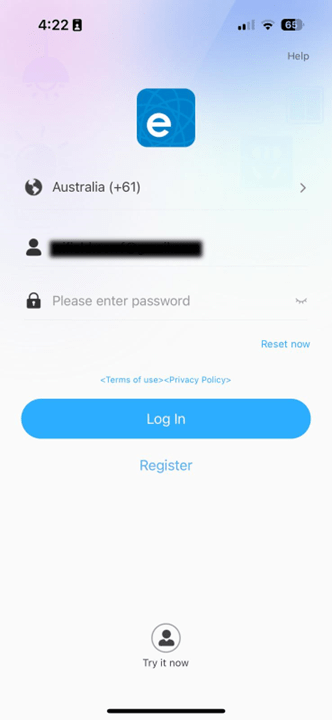
Step 1: Access the eWelink app and access your account
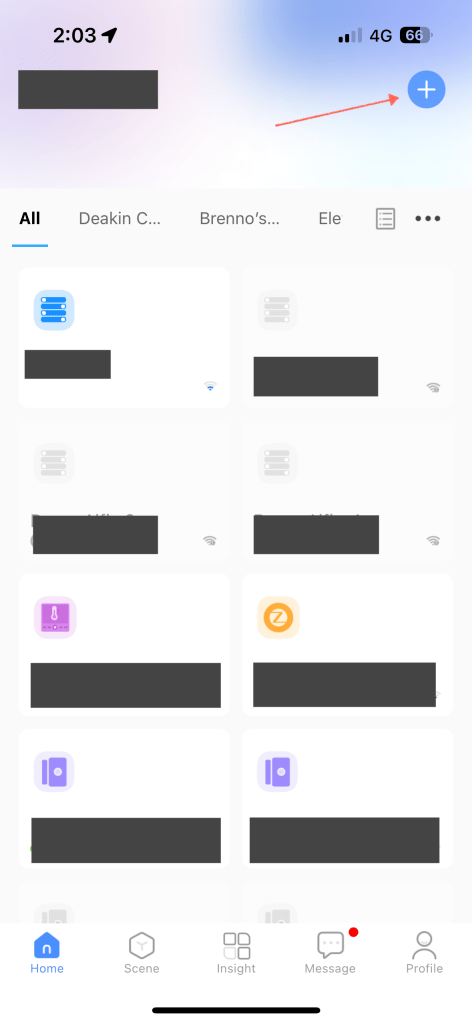
Step 2: Click in the plus button and choose “Add Device”

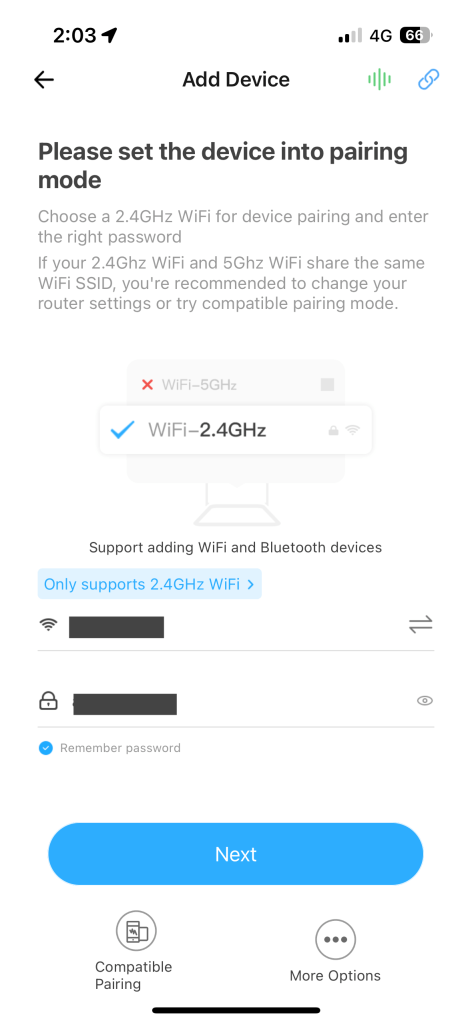
Step 3: Setup your network credentials and click “Next”
Step 4: Place the battery on your contact sensor and insert the clip on the sensor hole to press the setup button.

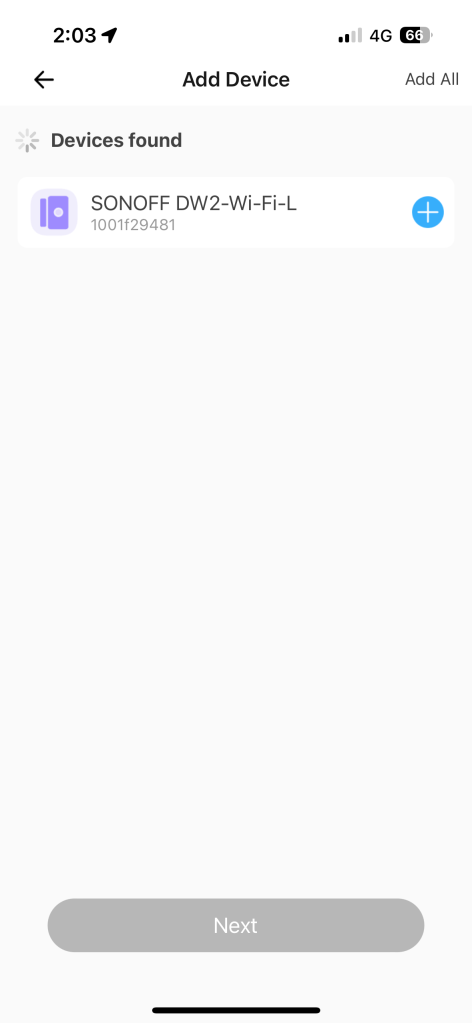
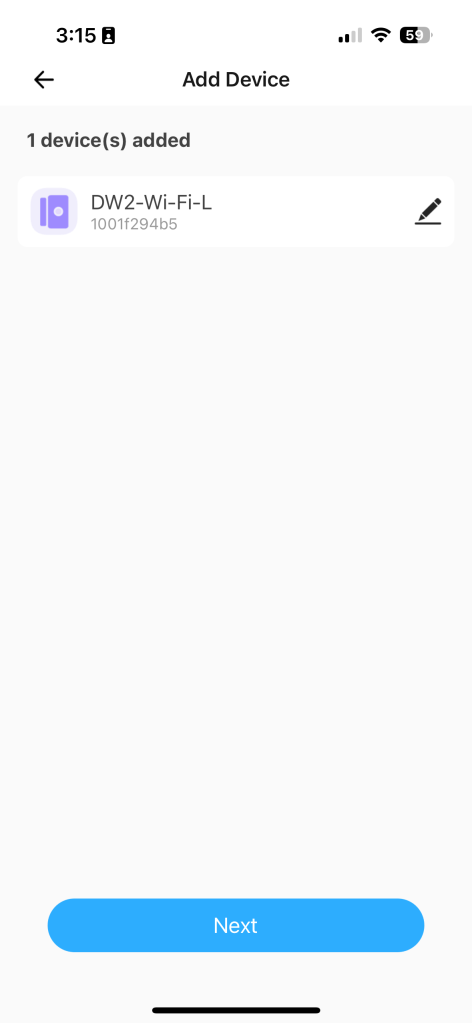
Step 5: On the eWelink App wait for the sensor appear on the “Devices found” list. When it appears click on the “+” button. The sensor will enter on pairing mode. Once it’s connected the device will display a generic name and a pen button.
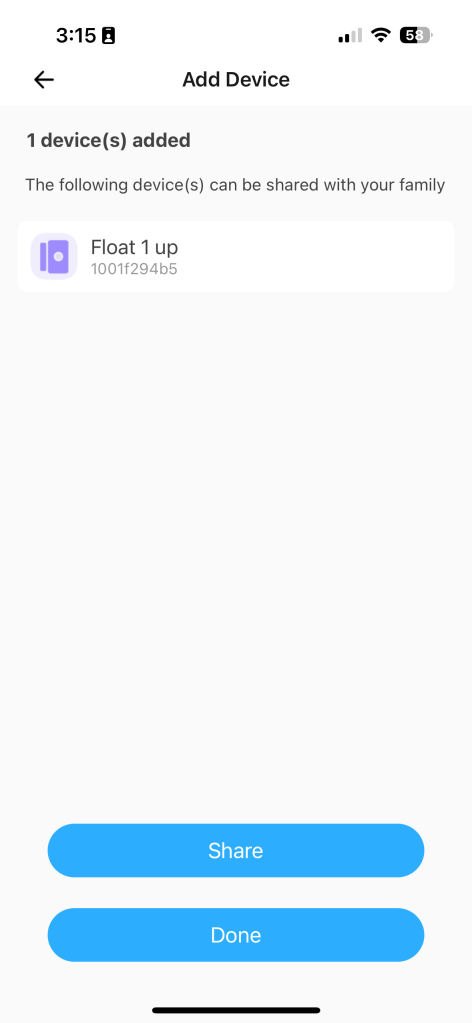
Step 6: Click on the pen button to change the sensor name. After change the sensor name click on the “Done” button. You will be redirected to the Add device page and then click “Next”. On the next page click “Done”.

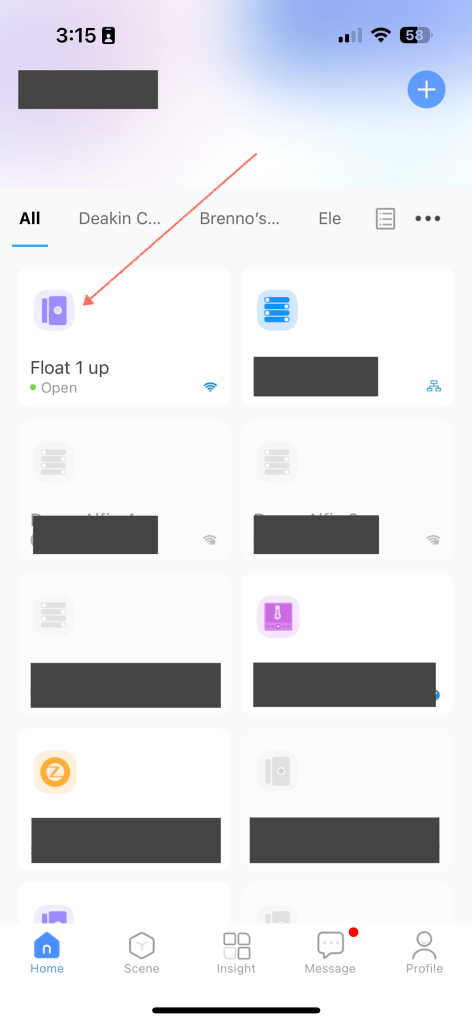
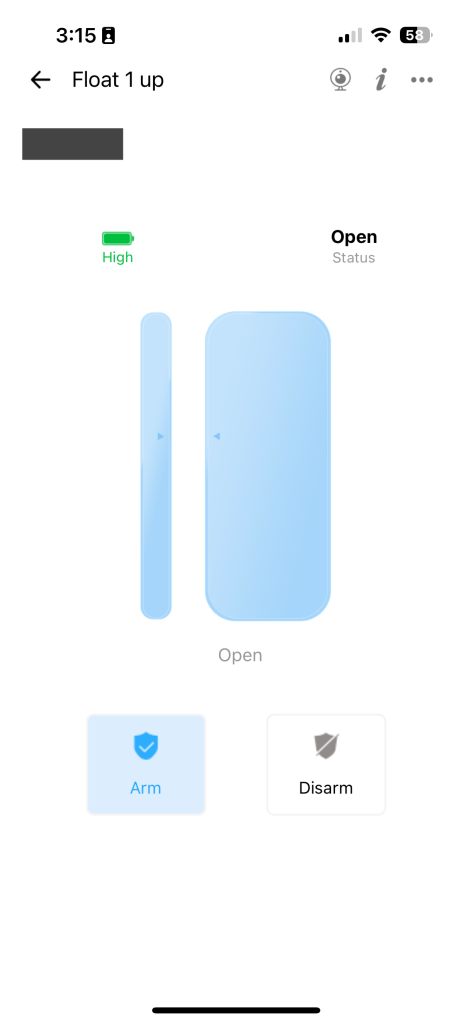
Step 7: On your devices menu click on the Floater that you just added. Then try to touch the magnetic rim to the sensor, check on the app interface if the sensor icon changed.

Leave a comment